Predators hunt in wildlife reserves, where you restore ecosystems and release zoo animals. Your Planet Zoo 2 wildlife reserve belongs to the conservation network you access through the Planet Hub. Prepare a suitable ecosystem and a release group before sending animals into the wild, because finalising that group prevents them from returning to your zoo.
In Planet Zoo 2 wildlife reserves, will predators hunt or eat other animals?
Yes, predators hunt and roam between ecosystems for food, and predation can kill animals. Hungry Eurasian lynx and other predators leave their forest ecosystem to find food.
Think of the painted areas as ecosystem zones, rather than pens that keep animals apart. Animals migrate between areas to find food or go hunting. Placing a predator's ecosystem away from another patch does not make its boundary a barrier.
Animals can react to danger by fleeing or defending themselves. That does not guarantee survival.
Once released, the lynx wanders through the forest of its new reserve.
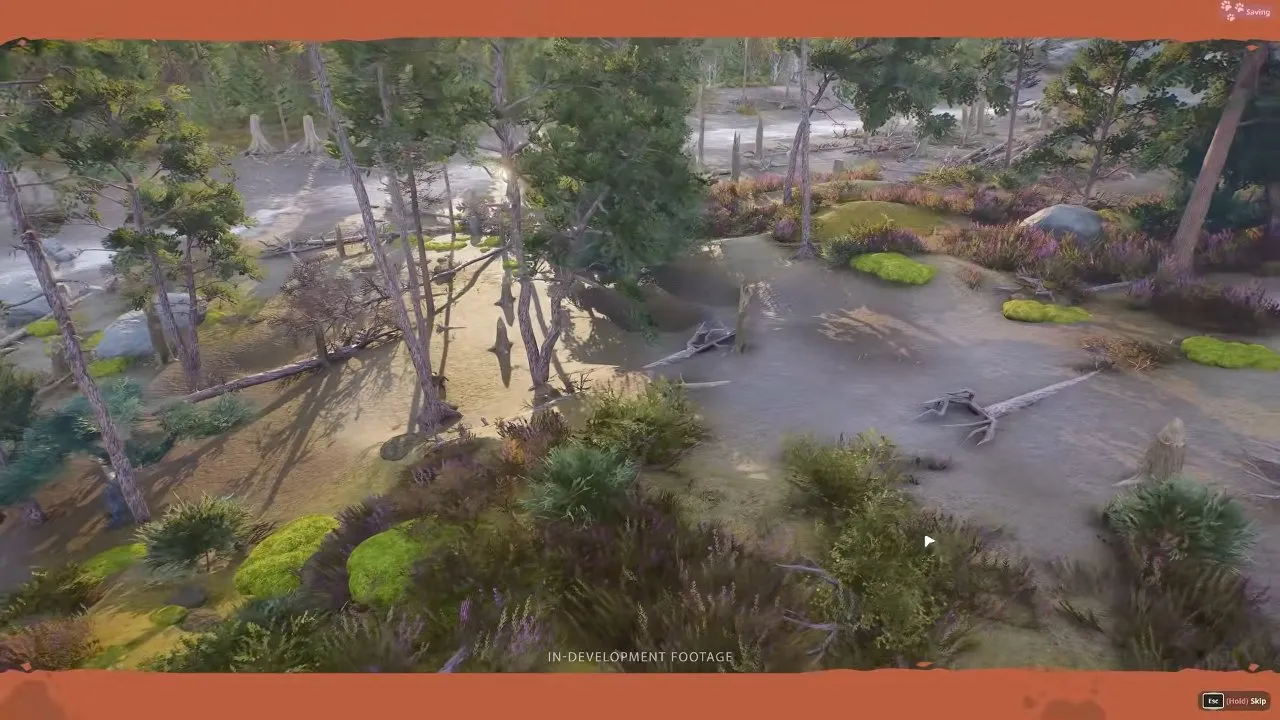
Your reserve keeps running while you are elsewhere, and released animals can breed naturally. Switching back to a zoo does not freeze the wild population, so do not plan around keeping every released animal permanently safe.
Are wildlife reserves in Planet Zoo 2 Franchise mode?
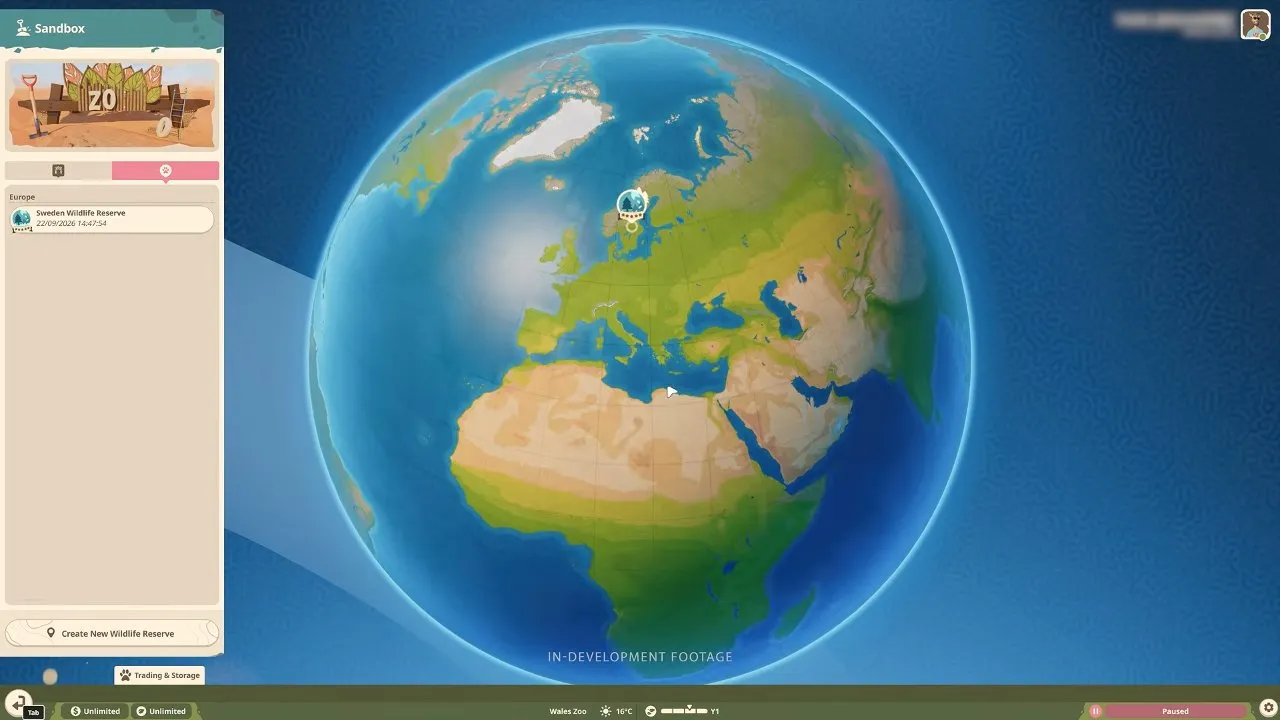
Yes, wildlife reserves are supported in Franchise, Career and Sandbox. In Franchise, open the Planet Hub through the world icon, select an available reserve, name it, adjust its settings and select Create Wildlife Reserve.
You can travel between locations through the hub without returning to the main menu, and several zoos can supply the same reserve. The hub lists each reserve, such as Sweden Wildlife Reserve, beside the creation button.
Franchise or Career: use animals from your zoos
You need animals from existing zoos to populate reserves in these modes. If you are building a connected breeding network, read Planet Zoo 2 Franchise mode before choosing your save.
Sandbox: generate animals or use your zoo animals
Sandbox lets you generate animals for release groups instead of supplying them from a zoo. You can also choose whether a new Sandbox reserve starts with established ecosystems, making it the more direct option if you want to explore reserves without first building a breeding programme.
What are all the wildlife reserves in Planet Zoo 2?
Planet Zoo 2 has 6 wildlife reserves at launch, spanning Africa, Europe and Asia. They include Sweden, Sumatra's rainforest and the Great Rift Valley's grassland.
| Reserve | Continent | Biome |
|---|---|---|
| Great Rift Valley Reserve | Africa | Grassland |
| Tanzania Reserve | Africa | Grassland |
| Poland Reserve | Europe | Temperate |
| Scottish Highlands | Europe | Taiga |
| Sweden Reserve | Europe | Taiga |
| Sumatra Reserve | Asia | Tropical |
Choose a location around the species you want to release. Poland is Temperate, while Scottish Highlands and Sweden are Taiga, so those European locations are not interchangeable. Check the release group's suitable reserves and ecosystem requirements before committing animals. For the wider roster, see Planet Zoo 2 animals.
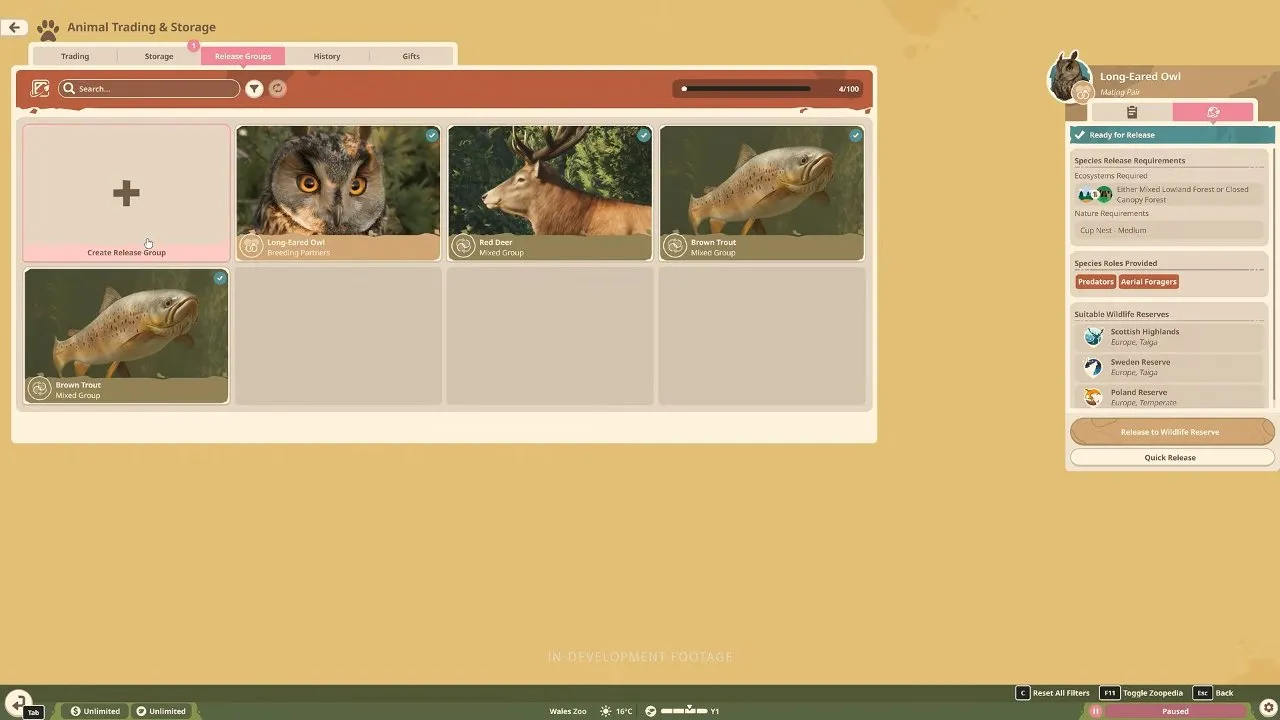
The release-group screen lists suitable wildlife reserves on the right. Check it for each group rather than assuming every animal fits every reserve.
Two species lists dated October 13, 2026 disagree on some totals. Counting the named animals gives the first column below; the summary totals give the second. Neither disputed total should decide your release plan.
| Reserve | Named-list count, October 13, 2026 | Summary total, October 13, 2026 |
|---|---|---|
| Great Rift Valley Reserve | 26 | 27 |
| Tanzania Reserve | 27 | 29 |
| Poland Reserve | 10 | 11 |
| Scottish Highlands | 11 | 11 |
| Sweden Reserve | 12 | 12 |
| Sumatra Reserve | 15 | 15 |
How do you establish an ecosystem in a Planet Zoo 2 nature reserve?
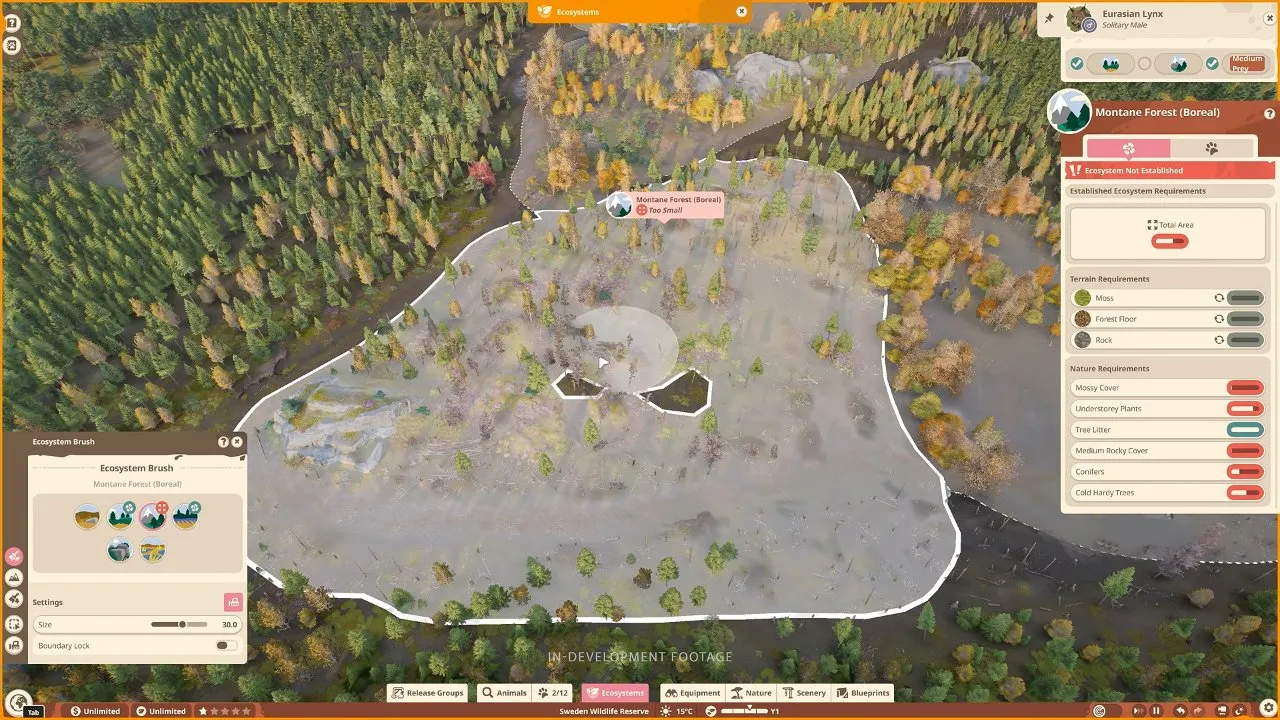
Use the Ecosystem Brush to designate an area, then meet its Area, Terrain and Nature requirements to make it Established. Available ecosystem types depend on the reserve's location. Sweden, for example, has 6 ecosystem types.
- Clean the land first. Remove environmental pollution and invasive plants with the Demolish Brush. The Swedish reserve, for example, starts as former logging land full of debris and pollution.
- Choose the ecosystem your release group needs. A red deer group, for example, needs Mixed Lowland Forest. Match the group's ecosystem icon to the brush selection.
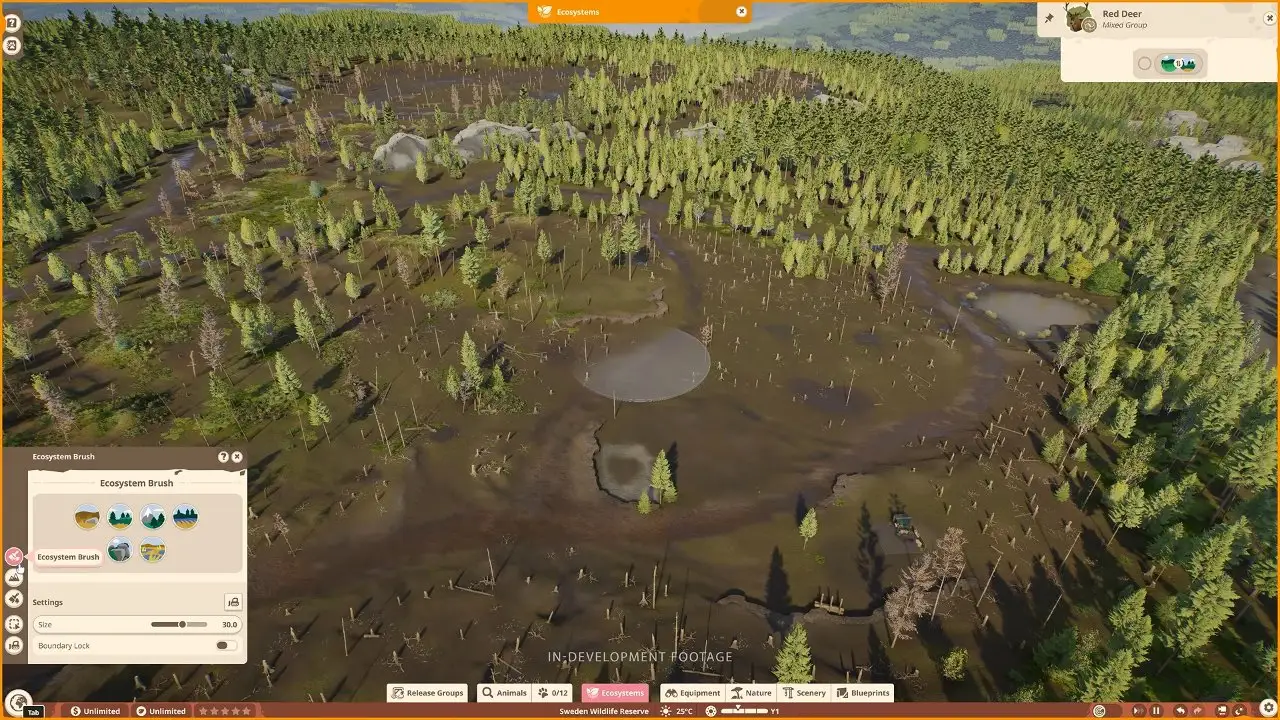
- Paint enough land and fill each requirement. Use Terrain Sculpting for height and water, Terrain Paints for ground types, and the required foliage for Nature. Some ecosystems also need specific water amounts or highland or lowland conditions. The panel below shows Total Area, Terrain Requirements and Nature Requirements, with an Ecosystem Not Established warning.
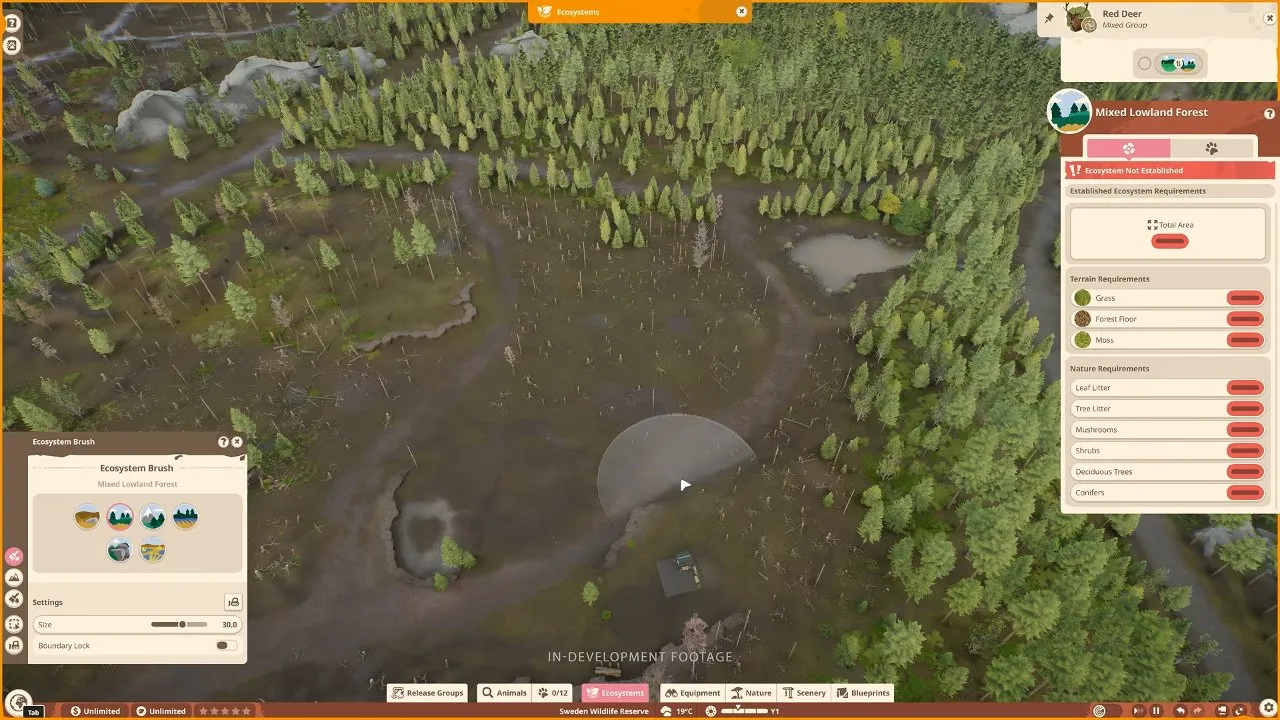
Select a Nature Requirement to filter the object browser to what the ecosystem needs. Use the Nature Brush to cover large areas quickly. For terrain tools and biome planning, continue to Planet Zoo 2 biomes.
One continuous patch: keep the layout together
A single painted area gives you one continuous ecosystem zone to work on. You still need to satisfy its total area and environmental requirements; simply making it larger does not supply missing plants.
Separate patches: spread the same ecosystem across the reserve
You can divide the same ecosystem into separate pockets. Their areas contribute to the same total. This is useful when your restoration layout follows separate clearings, but it does not bypass the total-area limits.
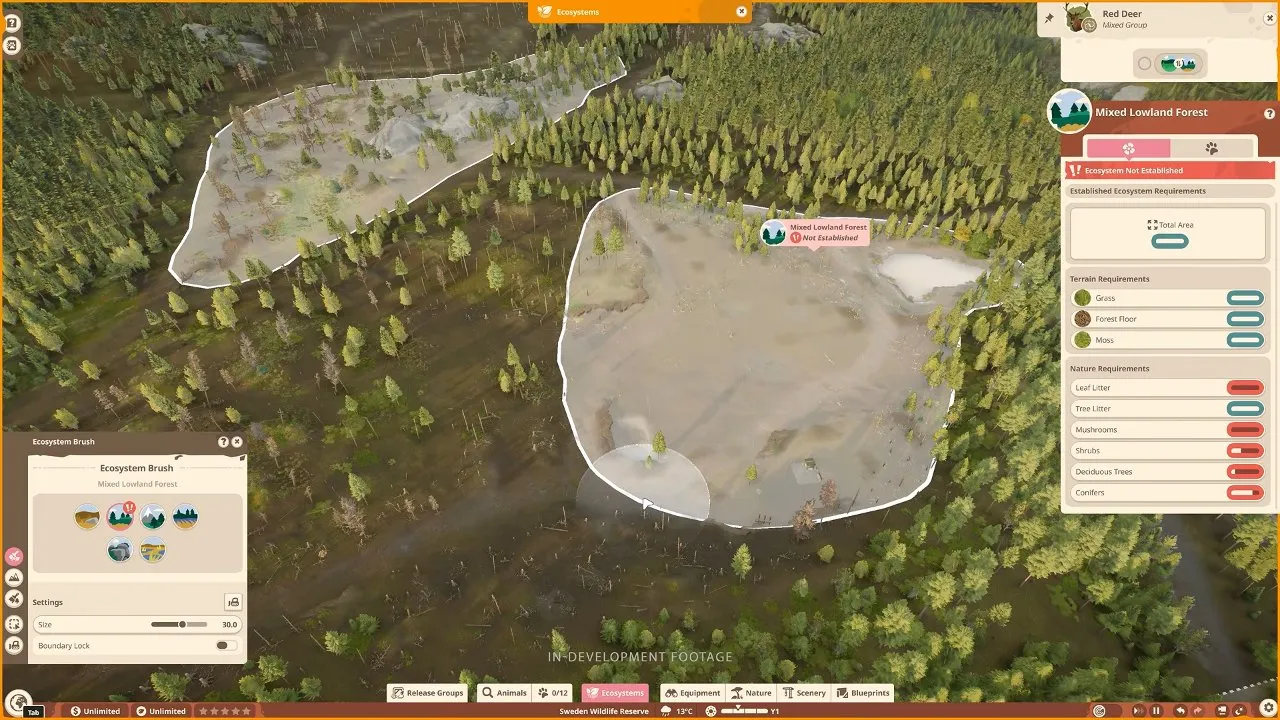
Established means the environmental requirements are met. Flourishing is a further state: after establishment, fill all the required Ecosystem Roles with suitable animals. Some release groups require Flourishing, so check the group's condition before assuming Established is sufficient.
How do you release zoo animals into wildlife reserves?
Move suitable animals of the same species into Animal Storage, create and fill a release group, then release it into a suitable ecosystem. Group types and requirements vary by species; longevity, fertility or genetic diversity can matter, but there is no universal 100% requirement.
Send your chosen animals to Animal Storage
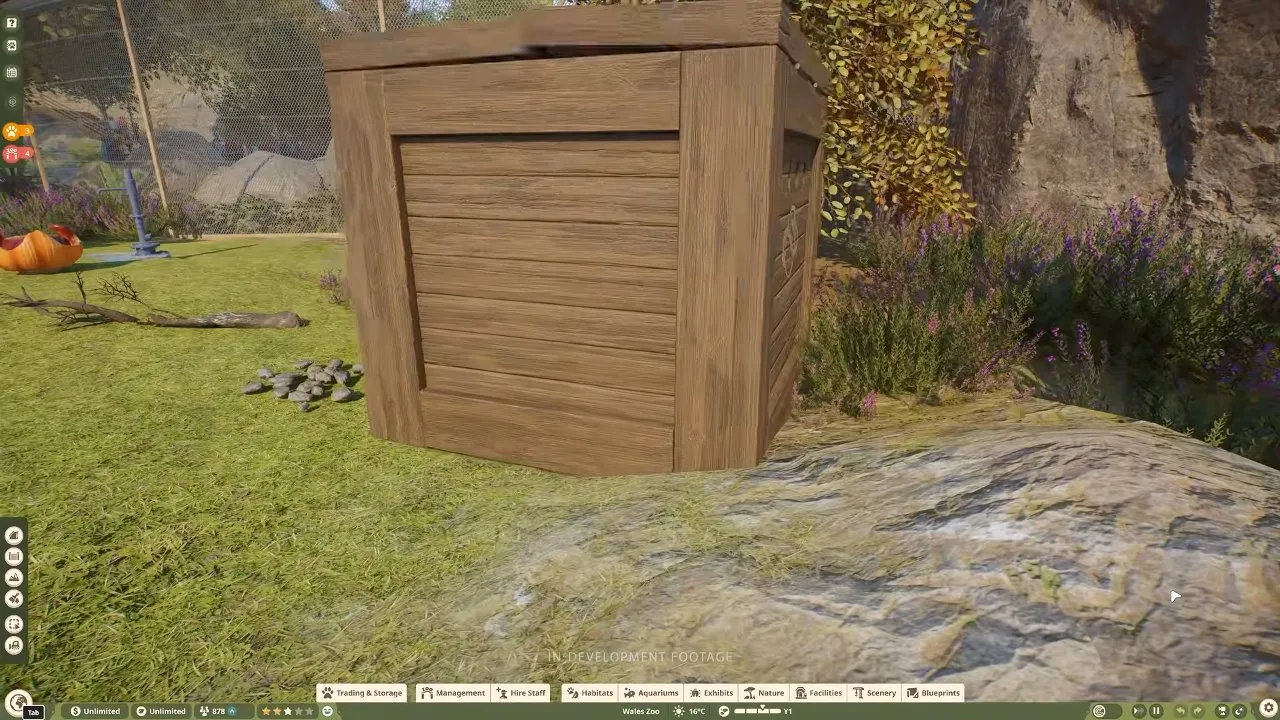
Use the animal's zoo interface to send it to storage. A transport crate appears in the habitat while the animal is moved.
Place a Research Outpost if you are working in the reserve
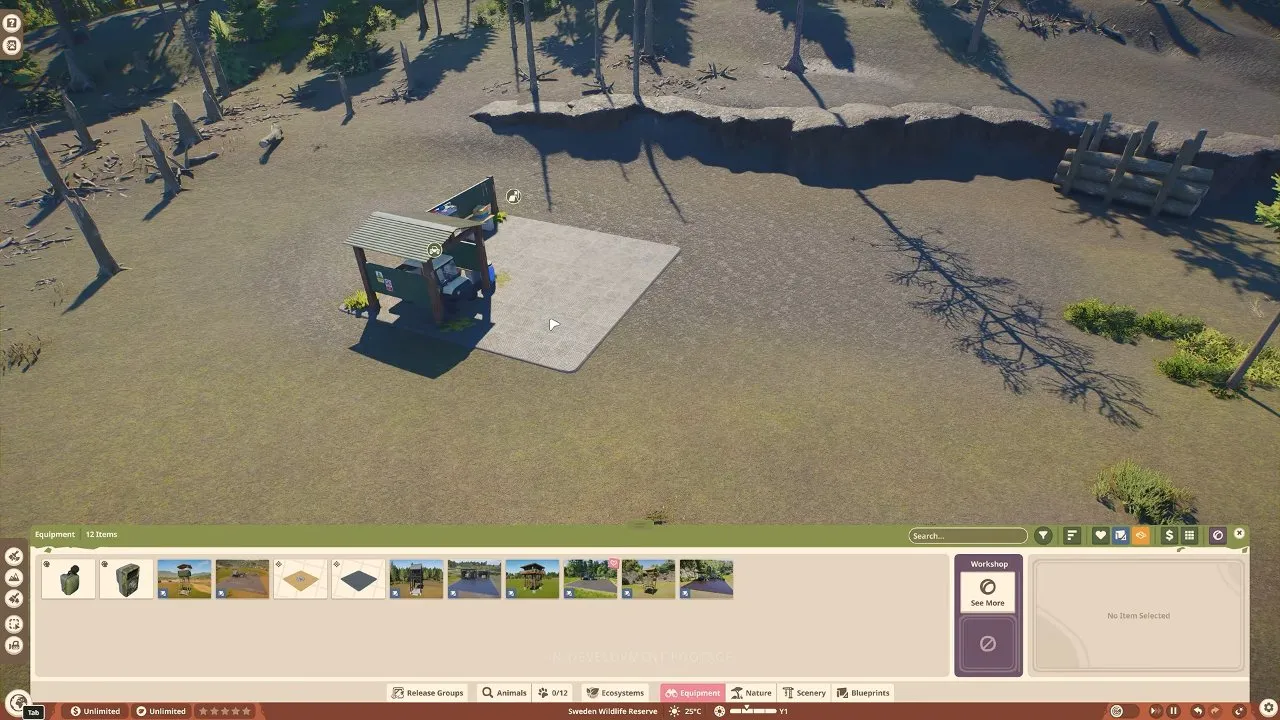
Place the outpost before opening Release Groups in the reserve. Flat ground makes placement easy. You can alternatively open Release Groups through Animal Trading & Storage while in your zoo.
Create a group and add its members
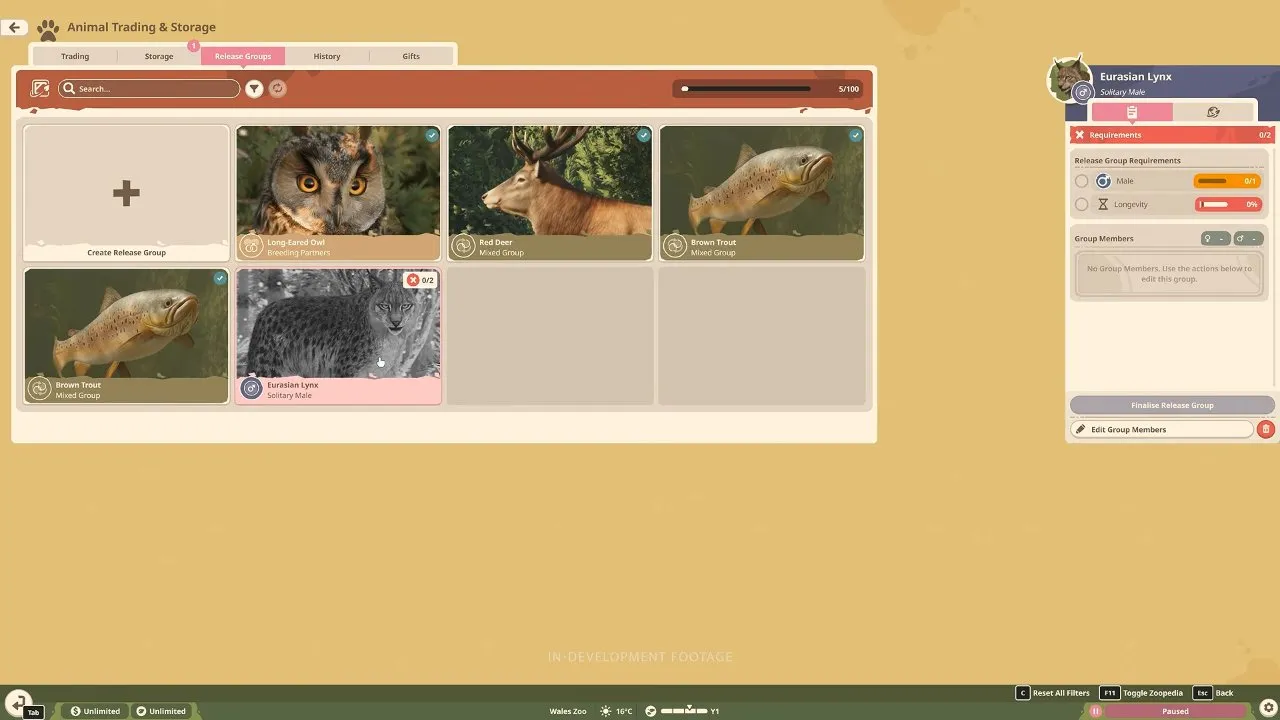
Select Create Release Group, choose a species and Group Type, then select Create. Some species need zoo research to unlock their release options. Open the new group and select Edit Group Members to add suitable stored animals.
The grey lynx card below looks like a disabled species, but the group is empty. It needs a suitable member: the panel shows No Group Members and an Edit Group Members button.
Check your animals before finalising
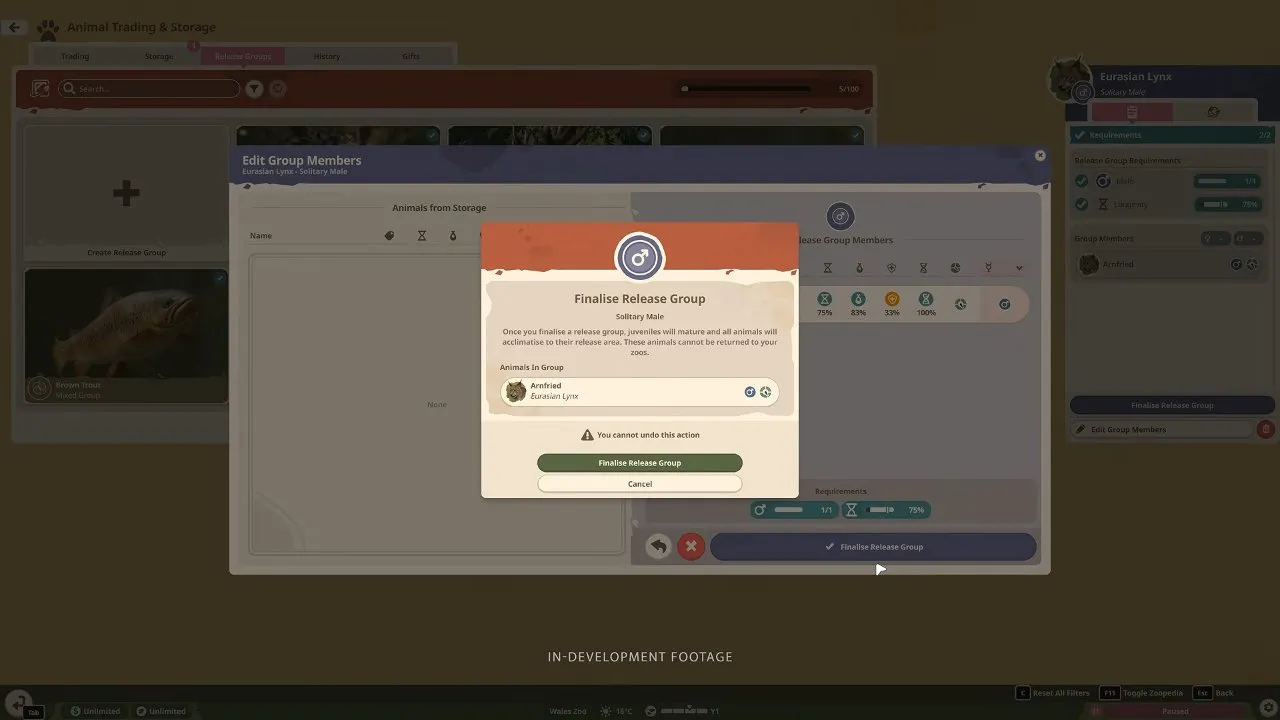
Meet the group's requirements, then select Finalise Release Group only when you are ready to commit. The confirmation prompt explicitly says the animals cannot return to your zoos and that the action cannot be undone.
Release to Wildlife Reserve: recommended for populating your reserve
Choose Release to Wildlife Reserve. If you are in a zoo, select a suitable destination in the Planet Hub and travel there. Select an appropriate Established ecosystem, or meet a Flourishing requirement if the group needs one, then confirm the release.
Once the ecosystem requirements are met, the release crate opens beside the Research Outpost and the red deer walk into their natural home.
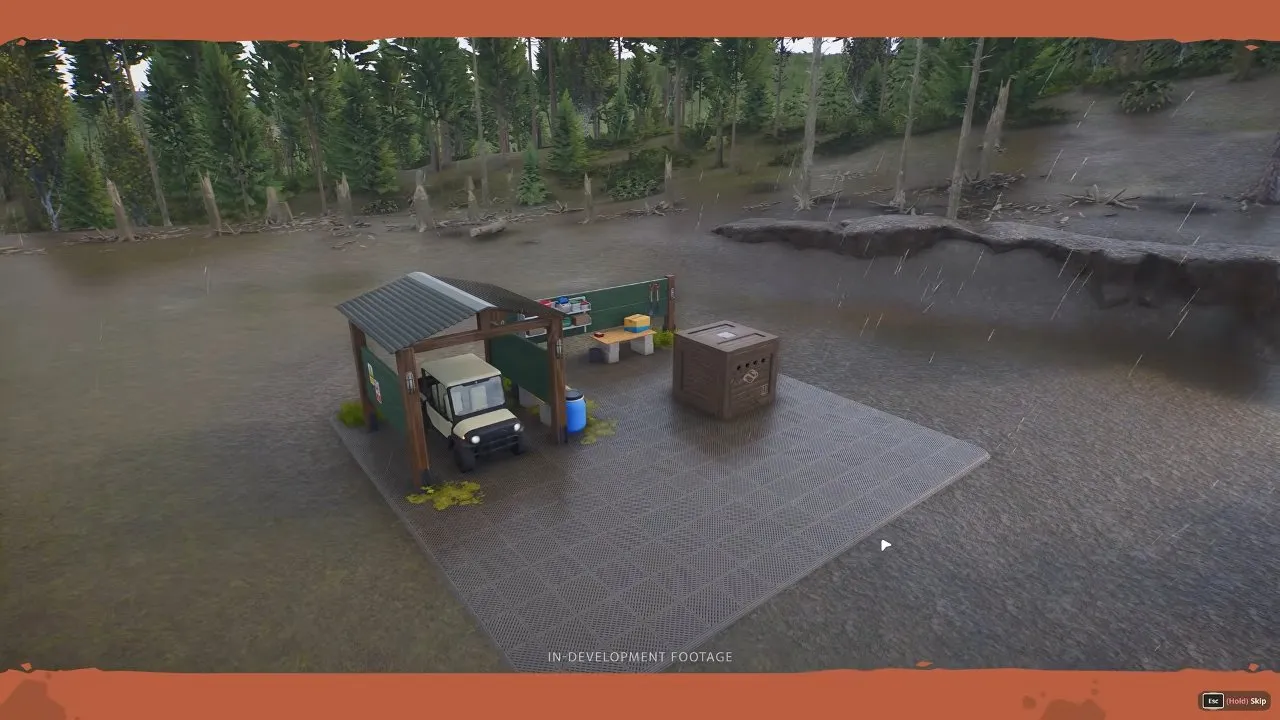
Successful release awards Conservation Credits.
Quick Release: take immediate Conservation Credits
Choose Quick Release if your goal is the immediate credit reward instead of placing the group into a reserve ecosystem. For restoration and wild research, take the reserve route so your animals become part of its population.
How do you improve wildlife reserve research and photograph animals?
Build a research network with Observation Platforms, Camera Traps and Acoustic Monitors, then explore from the Research Outpost to find and photograph released animals. Biodiversity Rating has 2 categories: Ecosystem Rating and Research Rating. Restoring land and releasing suitable species supports the first; monitoring equipment supports the second.
Observation Platforms: spread visual coverage
Place platforms around the reserve and avoid overlapping their coverage to minimise the impact on animals. Placed observation towers help meet rating requirements.
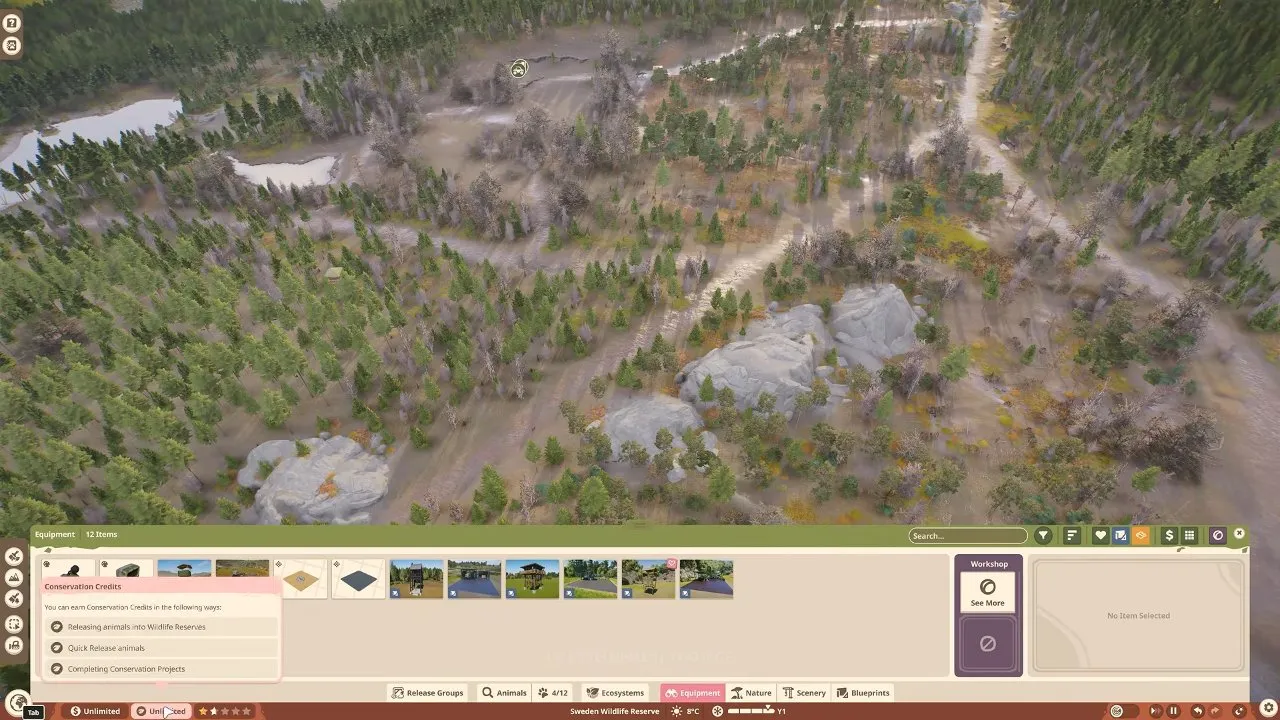
Camera Traps: capture animal behaviours
Position traps where animals pass and check that each captures the required behaviours, such as grazing and foraging. Trees and other environmental objects can help with placement. A tree near where red deer graze is a good spot for a trap.
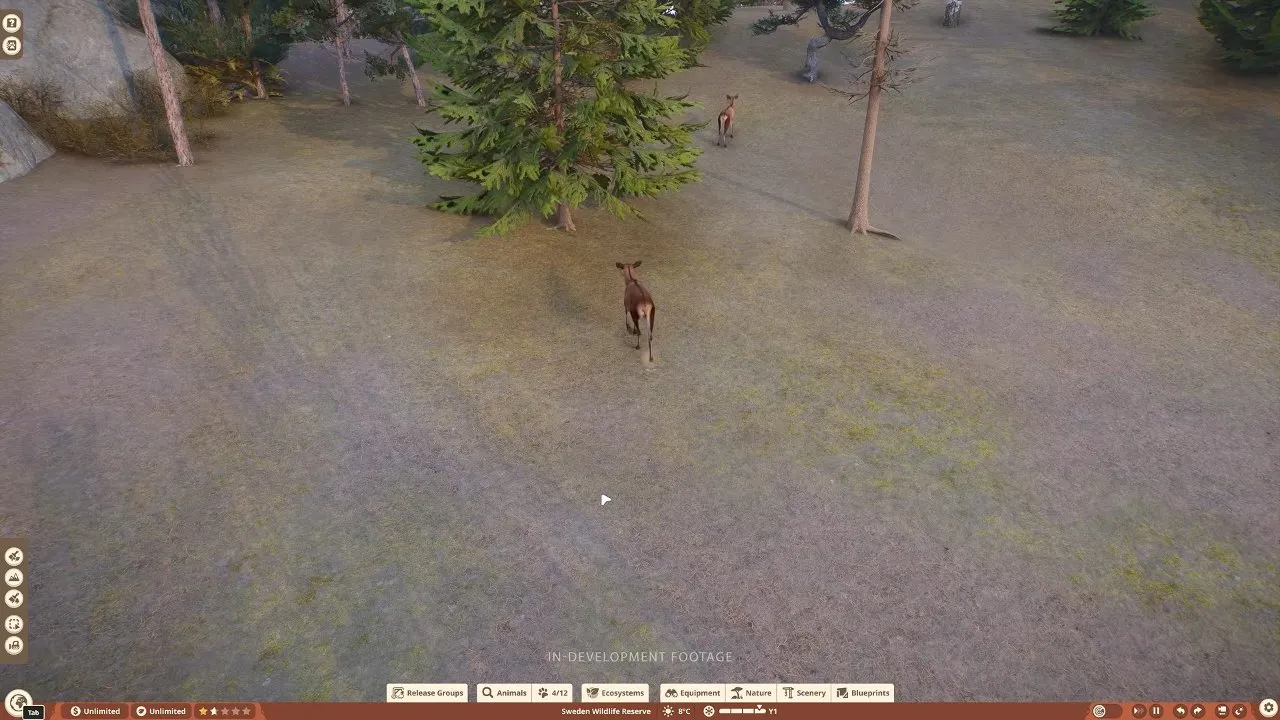
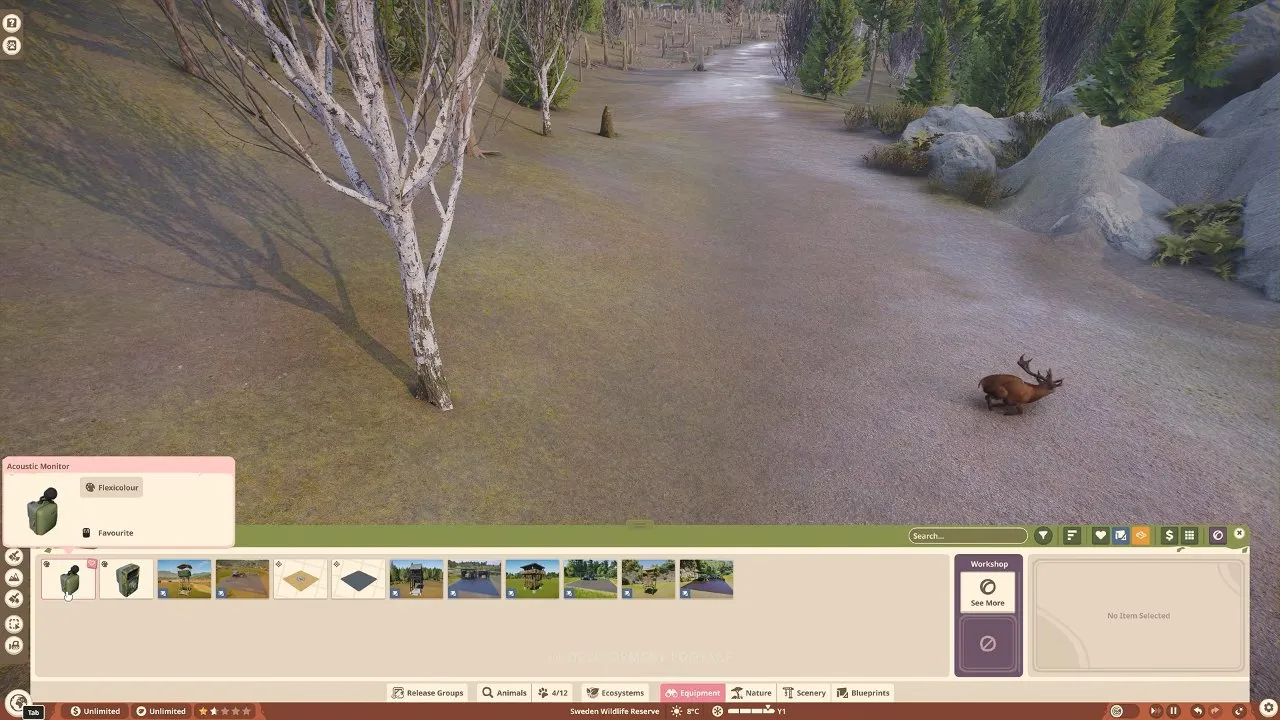
Acoustic Monitors: cover ecosystems with sound monitoring
Place monitors throughout the reserve and check their ecosystem coverage. Acoustic Monitor is in the equipment browser and records sound across its coverage.
The research network unlocks higher Species Research levels. Improving reserve Biodiversity Rating alongside zoo Zoo Reputation also helps your Accreditation Tier.
Research Vehicle: reach animals across the reserve
Start at the outpost and use the vehicle for longer trips. Follow the compass towards animal groups. The vehicle has a compass and a Reset Vehicle to Outpost control, giving you a way back if you need to reset your expedition.
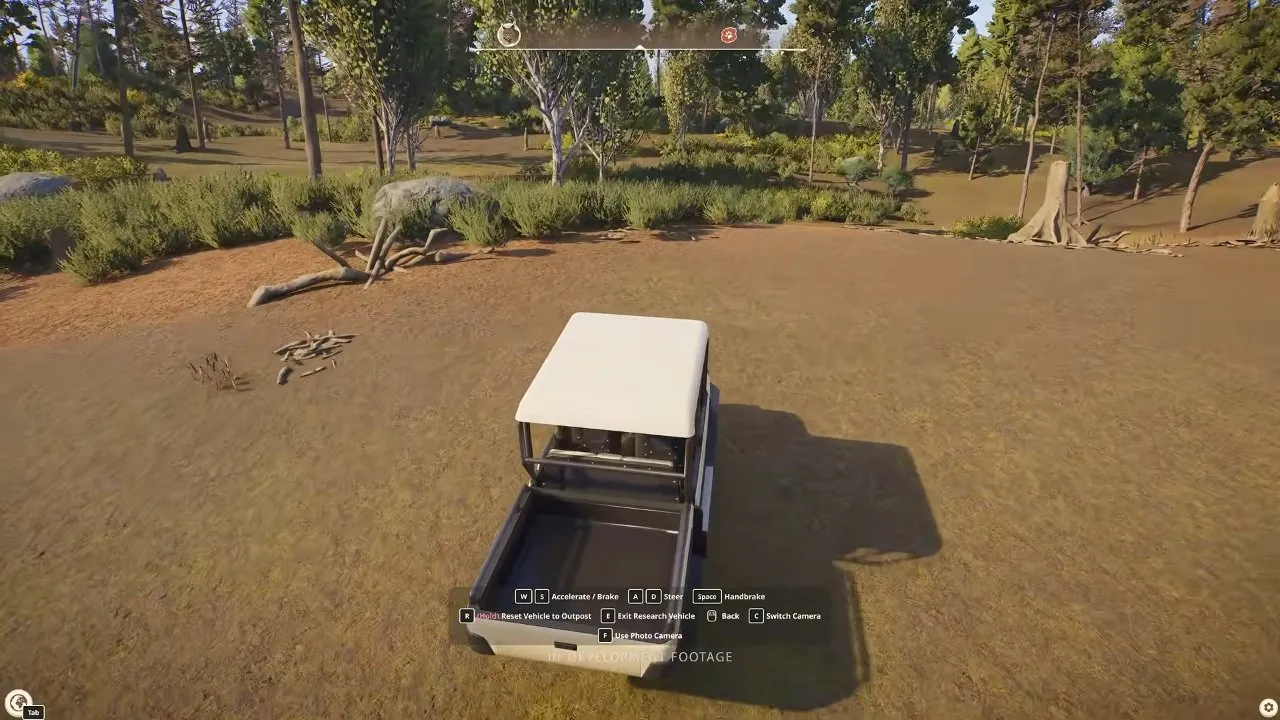
On foot: recommended for approaching easily startled animals
Leave the vehicle and approach slowly when you want a closer photo. Some animals flee from vehicle noise. Use the Exit Research Vehicle control to step out.
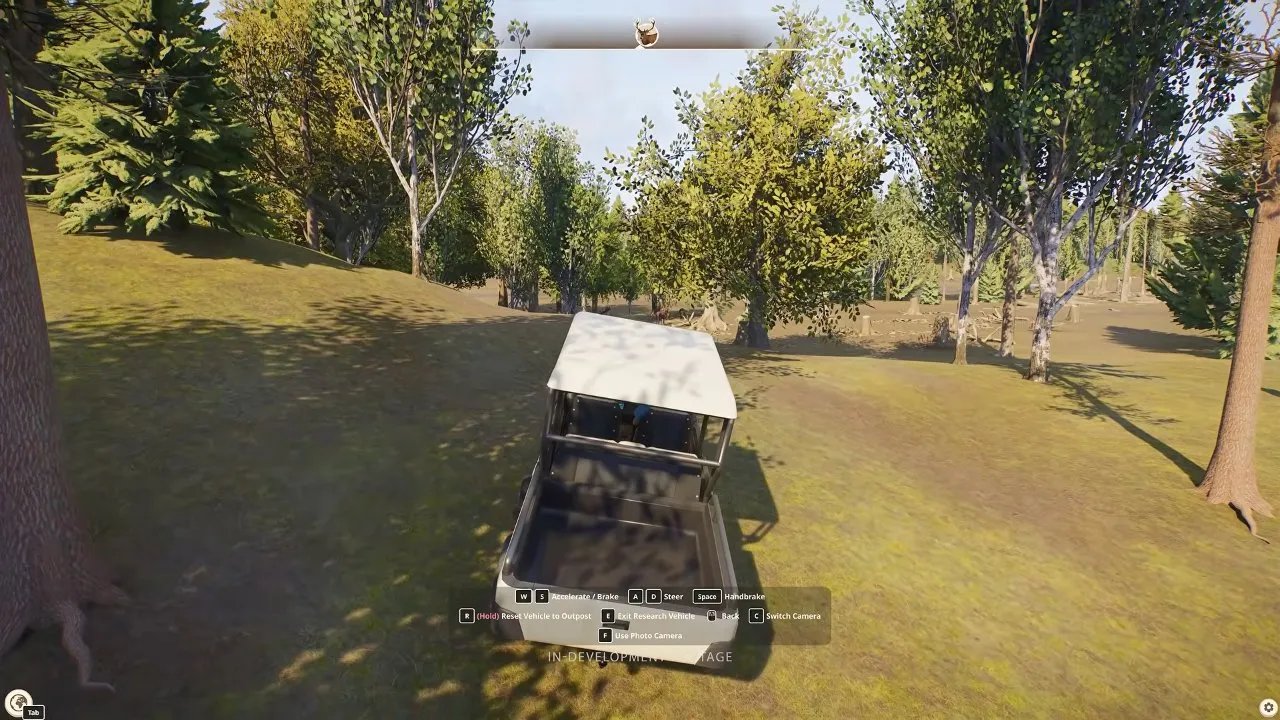
Enter the Photo Camera and frame your animal. Photo scoring considers the animals, framing, distance and behaviours shown. Research Photo Details lists the subject, such as Red Deer, so you know the shot registered the animal.
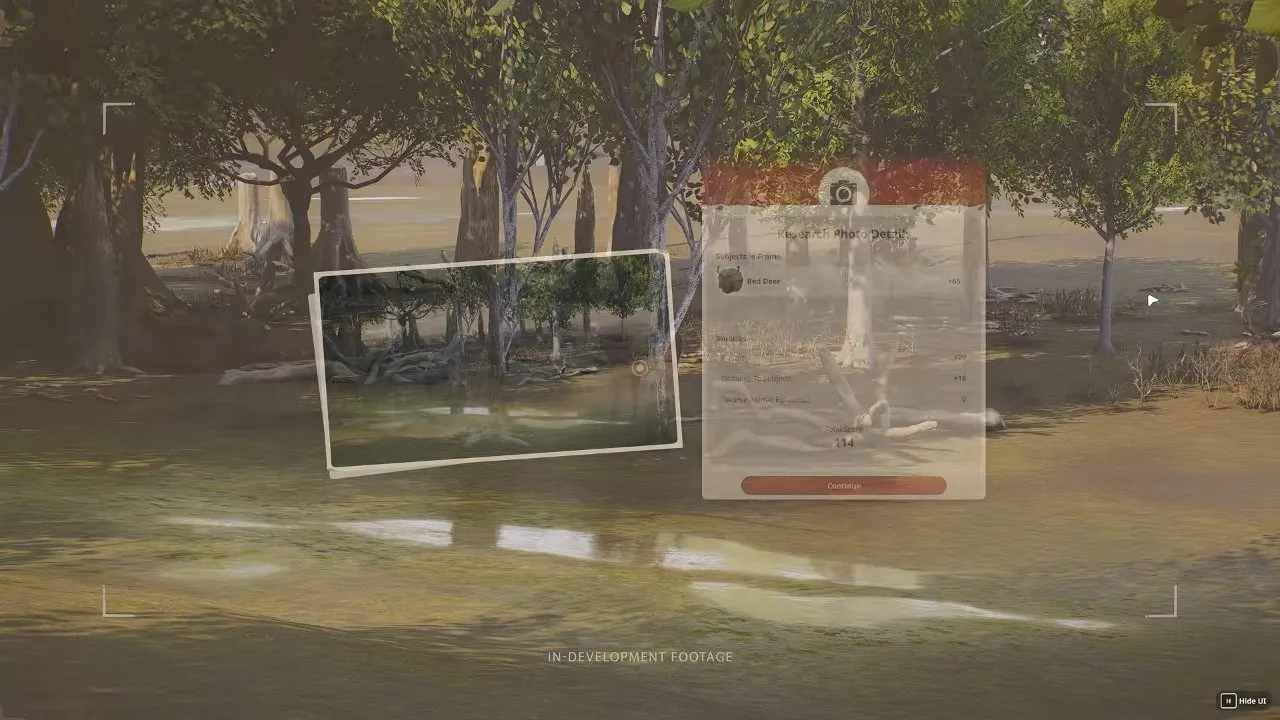
With a restored ecosystem, released animals and monitoring equipment, you have a living reserve that supports conservation and research. Return to your zoo to prepare the next suitable group, and follow Planet Zoo 2 tips when you need help with the zoo side of that loop.